
I'm such a lucky person aren't I? T bought me some lovely biscuit cutters in the shapes of various mini-beasts for Easter instead of buying me an Easter egg (he did buy me chocolate in bar form though, far better in my opinion!) and I couldn't wait to use them, I've had cookie-cutter envy ever since seeing these adorable
bush buddy cutters on Johannas fab blog,
Green Gourmet Giraffe.
I spent Easter with my family, and J had made some custard cream biscuits for us that a friend of hers had made and after trying them I was determined to make some of my own and see if they were as delicious as J's biscuits. So the combination of desires led to custard cream biscuits in extremely cute shapes! And I got to have fun playing not only with icing the finished biscuits, but also with photographing them..... Note the way the lion is hunting the spider in the photo above, and the fact that the scary spider has red eyes - mwah-hah-hah. As an aside I only made one spider on the basis that spiders are scary and indeed, all the others were eaten well before the spider. It was only after some of his legs had broken off that people were willing to approach him.... coincidence? I think not!

Well, I did have to make some in more traditional shape too - not square like the commercial ones, but two layers sandwiched together with buttercream icing. Mind you, most of the mini-beasts were sandwiched too, and they had decorations on the top as well!

Aren't the caterpillars lovely?! OK, recipe:
Custard Cream biscuits with buttercream fillingIngredients (you could easily double these to make more biscuits)
85g softened butter
85g self raising flour
28g custard powder
30g icing sugar
Buttercream icing
50g butter, very soft
100g icing sugar, plus more
Method- Preheat the oven to 170-180C/Gas 3-4. I know this doesn't seem accurate, but J's friend said to use Gas 3, but I found Gas 4 fine. I don't think it's critical because you'll have to watch them carefully anyway.
- Cream together the butter and sugar until light and fluffy.
- Add the flour and custard powder and mix well to combine. The mixture may seem a little dry, but doesn't require any additional liquid - it will come together to form a soft dough.
- If you are making the traditional type biscuits, take small amounts of dough and mould into balls in your hands. Put on a baking tray lined with silicon baking parchment and push down very slightly - you want them to be rounded - they don't rise during cooking.
- If you are making cut out shapes, roll out small amounts of the dough at a time on a lightly floured surface, cut your shapes and very carefully transfer to the baking tray.
- Repeat until all dough is used up.
- Bake for around 8-15 minutes. Yes, this is a massive time span for such small biscuits, but if you roll the dough fairly thinly, they'll not take very long to cook and if you form mounded balls they'll obviously take a lot longer. Sorry to be so unhelpful, but the biscuits are done when they are not quite starting to turn golden brown. The best thing I can suggest is to bake a small batch first and keep checking to get an idea of how quickly they are cooking in your oven given how thick/thin they are. I know this sounds difficult but it really isn't. Just remember you don't really want them coloured and they'll be a bit soft when you take them out.
- Leave on the tray for a minute or so and then very carefully transfer to a wire rack to finish cooling.
In the meantime, prepare your buttercream - beat half the quantity of butter to icing sugar (e.g. 50g softened butter to 100g icing sugar) together until very light in colour and fluffy. I often add a little more sugar when I feel the mixture can take it. If you are colouring the buttercream, divide it into smaller bowls and add colouring paste/gel/liquid until you achieve the colour you are looking for. Only you can know this! I used make-shift piping bags by putting the buttercream into a small plastic food bag and snipping a tiny corner off the bag to get a hole to pipe through.
All that remains for you to do is have fun decorating. I guess children would love doing this, but I loved doing it too, what can I say?
Oh, and then you get to eat your creations. Which in this case is fantastic because these light little biscuits just crumble, dissolve and melt in your mouth. Although sharing the same name as their commercial cousins these are light-years away in both taste and texture. All of my colleagues loved them, and it goes without saying that J and T love them. So thanks to Brenda for giving the recipe to J, and to J for persuading me to try her delicious biscuits because I'm not normally a fan of buttercream, here it's great!

Gratuitous photo of snails - aren't they fab!!!
 How can such an unassuming cake taste so delicious? This is definitely not a cake that's going to win any prizes in the looks department, but seriously - what it lacks in appearance it more than makes up for in flavour and texture. I suppose I could have decorated it, but I wasn't sure what type of icing would complement it - a simple glace water icing made with ginger syrup might have been good, but it doesn't need it.
 Apart from leaving off the marzipan I made only a couple of minor changes to the recipe - I only had 280g light muscovado sugar left rather than 300g, I only used 125g crystallised stem ginger because that was the size of my packet of that (although next time I'd add more probably - it baked into a luscious sticky chewiness and even though pretty much all of the ginger sank to the bottom of the cake this didn't matter because it meant that you got a lovely gingery 'hit' in some mouthfuls to contrast with the gloriously buttery sweet soft cake of the other mouthfuls).
 I just can't say strongly enough how delcious this was for a ginger lover - the cake was moist and rich and sticky and gingery and just fabulous! Have I said enough? Make it, you won't regret it. Everyone else loved it too - apart from those on diets who had to resist.... mean? am I ever!!!

 The surface of the cake was very attractively marbled, the insides less so. I think I need to work on my marbling technique! However, this did have the advantage that you got a lemon mouthful, then a chocolate one and the flavours were more distinct. It was a nice, simple, moist cake enjoyed by many with a cup of coffee and sometimes these are the kind of cakes you want.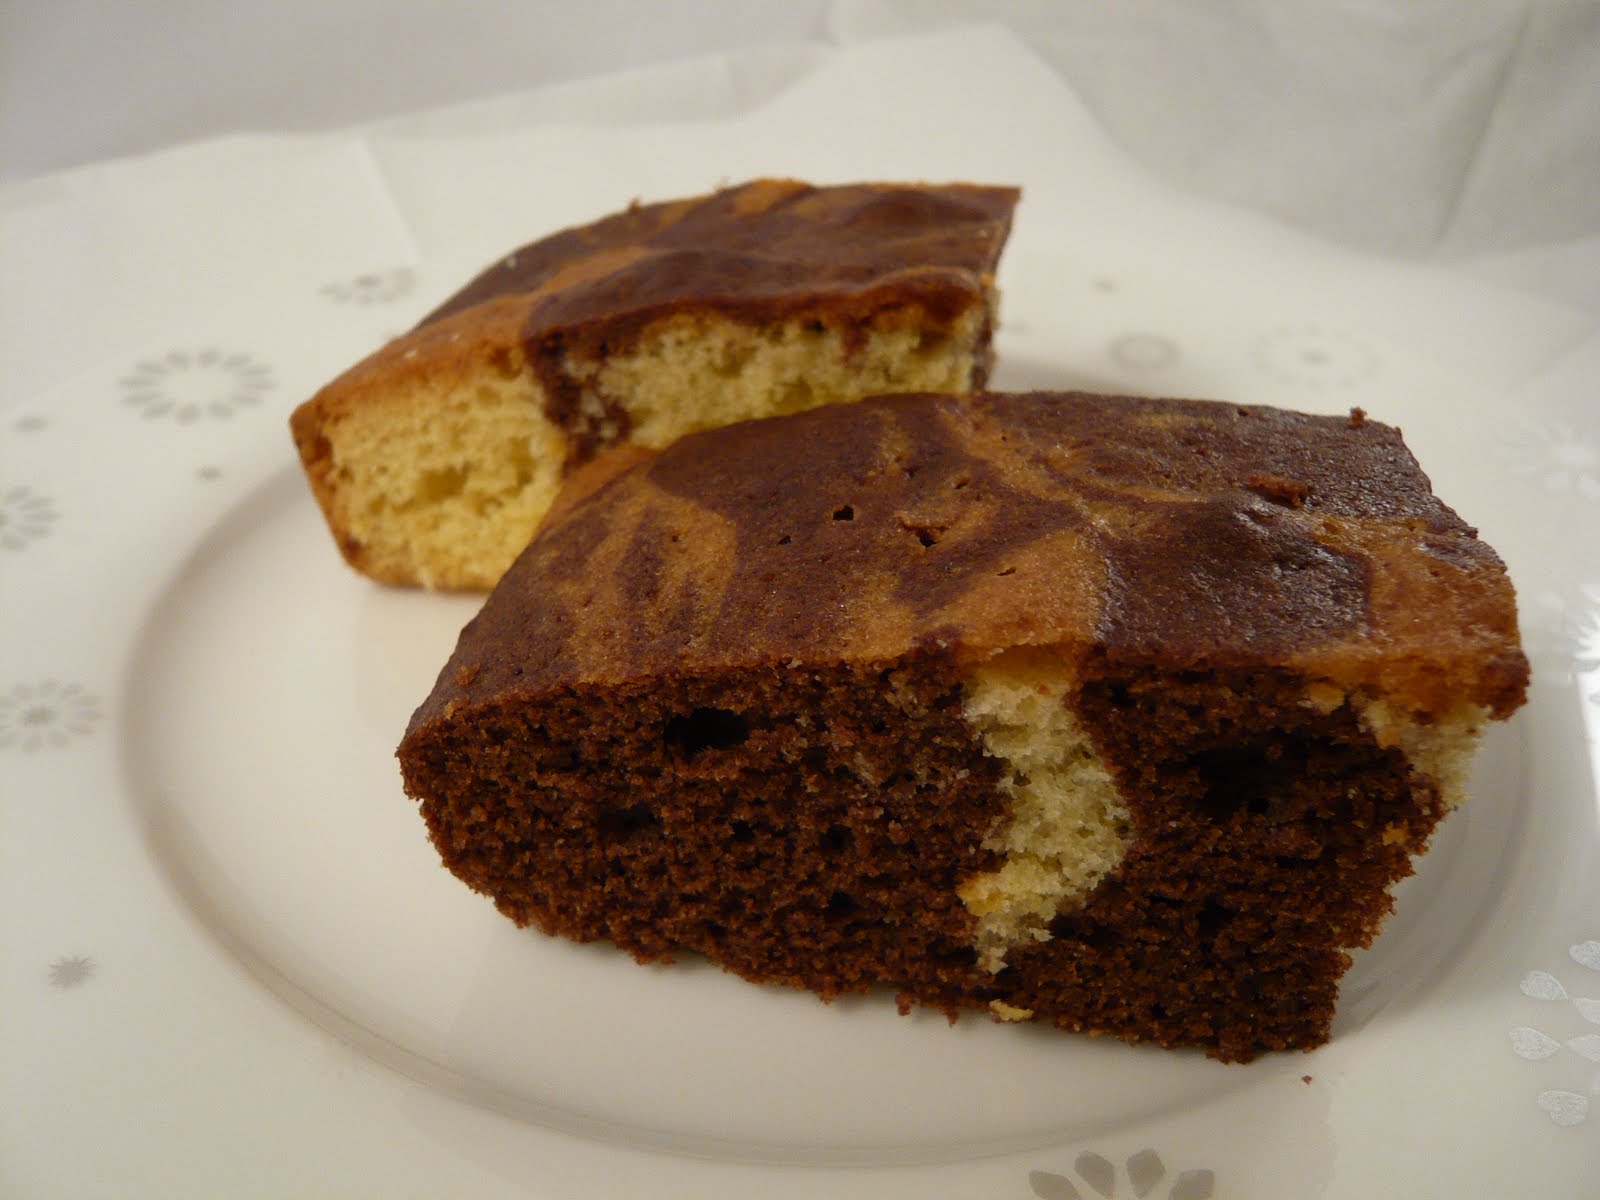


 I did actually stick pretty closely to his recipe (find the recipe posted on his forums


