Showing posts with label primrose bakery. Show all posts

Sunday, 2 June 2013

Rhubarb Cupcakes


I keep seeing rhubarb in the shops at the moment and decided to buy some to bake with. The only way I've ever really had rhubarb in the past is in crumble and not for years and years. For some reason I can't recall, I had convinced myself that I didn't really like it very much. It seems that's not really true! 

The rhubarb I bought is the outdoor variety (the forced kind having gone out of season months ago) so the colour is more towards green rather than the pretty bright pink kind you see in the winter/spring months, but the flavour is still good.

Reduced rhubarb syrup - pretty in pink

I decided to make rhubarb cupcakes from one of my less-used baking books, The Primrose Bakery Book, which is the second from the Primrose Bakery (yes, I do have the first one too, and have actually made quite a lot out of it!). I can't find a legitimate copy of the recipe on the internet, but it involves chopping and stewing the rhubarb first to cook it and then draining the cooking syrup. This is then reduced to make a thick sticky syrup to add to the buttercream. The stewed rhubarb is added to the cupcake mixture. The only change I made to the recipe was to omit the 1tsp ground ginger called for and replace it with 1tsp vanilla extract. I found that after the specified 25 minutes the cakes were pretty much cooked but because I'd been a numpty and set my oven too low they weren't coloured at all (note to self: check oven temp) so I turned the oven up and left them a bit longer to colour. This meant that I was a little concerned they'd be dry and so used some of the reduced rhubarb syrup as a glaze.

Glazed cupcakes before buttercream

The buttercream recipe wasn't my most successful attempt. The recipe in the book calls for 110g butter and 500g icing sugar, along with the reduced rhubarb juice from stewing the rhubarb. I thought this sounded unbearably sweet and started out with 110g butter and about 200g icing sugar. Unfortunately the buttercream split slightly when I added the rhubarb juice and a little warm water to slacken the mixture, I'm not quite sure why. 

Buttercream in the making

I ended up trying to rescue it by adding more sugar (to about 300g total), whisking like mad and I also added about 30g melted white chocolate (as the chocolate is supposed to stabilise the fat/sugar emulsion). It worked out in the end and the buttercream didn't split again but it was too sweet for my tastes. I think I'll add more white chocolate and less sugar next time. Because the rhubarb syrup is added to the buttercream you get a natural, very pale pink colour. 


These were ok, not the best thing I've ever made - the cakes were on the moist/heavy side and as above the buttercream wasn't my favourite. I also found I couldn't really taste the rhubarb but I did discover that I like the smell of rhubarb cooking, which is a good thing!


Since these are an 'R' bake I'm going to enter them into Alphabakes, hosted this month by Ros of The More than Occasional Baker and cohosted by Caroline of Caroline Makes. I haven't managed many challenges over the past few months, but I'm off to an early start here!

Wednesday, 19 October 2011

Ginger pear cake


I have once again proved to myself that my willpower is non-existent, at least when it comes to the buying of new cookery books, and in this case more specifically, baking books. Yes, the new Primrose Bakery Book jumped into my basket as I walked around the supermarket a few days ago. I did have a quick flick through it though first, to make sure there were recipes in there that I wanted to make. There were.

When I got home I started looking through properly and deciding what to make first. A very tough decision because, as with their last book on cupcakes, there are so many things in there I wanted to make. However, with all of the beautiful autumn fruit around at the moment I couldn't help but see the ginger pear cake calling out to me from the page.

It took quite a while to pull together - there's a creamed butter and sugar mixture to be spread onto the base of the tin, then the pears to peel, slice and arrange and then the cake to make, with lots of different ingredients, but none of it was difficult (apart from trying to find all of my spices! I have a sneaking suspicion that my ground cloves are well out of date, but never mind).


As the book has only just been released I can't find any mention of this recipe on the internet and I followed it quite closely so don't feel it is right to reproduce it. For my own memory and notes I used 2/3 of the topping ingredients and two pears and then changed the spice mix a little. I ended up using 2tsp ground cinnamon, 2tsp ground ginger, about 1/4tsp ground cloves and probably about 1/2 tsp ground nutmeg (but I got bored grating it!!!).

I used my springform tin and because I know this tin has leaked in the past, wrapped it in some tin foil before putting it in the oven. I'm very, very glad I did, because most of my sticky topping appeared to be trying to escape from the tin when I took it out of the oven. Sticky is an understatement too, I'm so glad I caught it in the tin foil!


Really weirdly, when I cut into the cake I found that there were some very odd tunnels in it. I'm wondering if this is an effect caused by the sugar/butter combination in the base of the tin somehow traveling up through the cake mixture - any other ideas?


Really good cake though - nice subtle pear flavour in the topping, combined with the stickiness of the caramel type layer and then the soft cake underneath, all interspersed with delicious bits of chopped ginger - you can just see one in the picture above.


I think this is a perfect autumn cake, and would also make a perfect autumn dessert - just serve with plenty of delicious hot custard. And because this is so perfectly autumnal I am submitting it to the lovely Kate of What Kate Baked for her autumnal baking challenge.

Thursday, 17 February 2011

Romantic Rose Hearts

Mmm, I know, I'm late for Valentines Day. I guess you won't really be interested in making Valentines day cupcakes now, but I'm going to post them anyway because there's nothing to say that you can't surprise your loved one on a different day of the year - after all, love doesn't just happen on one day of the year. And you never know if they think you've forgotten Valentine's day and then turn up with a plate of these the reaction might be even more positive. And anyway, I'm not waiting a year to post them!


Romantic Rose Hearts
Ingredients
55g butter, softened
110g golden caster sugar
1 large egg
75g self raising flour
65g plain flour
1 tsp rosewater
60ml semi skimmed milk, at room temperature

125g icing sugar for the icing

Method
- Preheat the oven to 180C/Gas 4. Line the edges of a silicone heart mould with 8 holes as best you can - I just put a strip of parchment around the vertical sides.
- Cream the butter and sugar until the mixture is light and fluffy.
- Add the egg and beat well to mix.
- Add some of the flour, beat to combine, add some milk, beat to combine and repeat until all milk and flour are added.
- Add the rosewater and mix in.
- Divide the mixture between the holes of the mould.
- Bake for 25 minutes until well risen and golden.
- Allow to cool until you can handle the mould then really gently try and release the cupcakes. I always struggle here, but just try the best I can!

Make the glace icing - mix 125g icing sugar with about 2tsp rosewater and a little extra water as required to make a thick icing. Pour/drizzle over your cooled cupcakes.

Share with your loved one (or in my case, grateful colleagues!).


I was really pleased with the way these rose and peaked - bursting hearts of love (hmm....!). The recipe is adapted from the Primrose Bakery recipe book and I like using this proportion of ingredients - the egg doesn't tend to curdle when it's added (I usually manage to curdle most of my cake mixtures) and the mixture of plain and self raising flour gives a substantial cupcake.

The rose flavour is fairly subtle, especially in the cake, and builds as you keep eating.


As an aside - does anyone else have trouble with silicone moulds? I thought the point of them was that they were non-stick. As you can see, mine really aren't. I would have really struggled to release the cupcakes if I hadn't put a piece of parchment around the edges. As it was I lost a fair amount of the base of some of the cakes, and they really did stick. This mould has been used a few times - so neither new nor old. Any ideas?

Friday, 19 November 2010

Earl Grey Cupcakes

I can't believe I haven't updated for so long - I really am still alive and have actually been baking quite a lot recently, but being busy at work has put paid to having any time to blog about any of it! I now have an enormous backlog of things to blog, so decided to make a start with these.

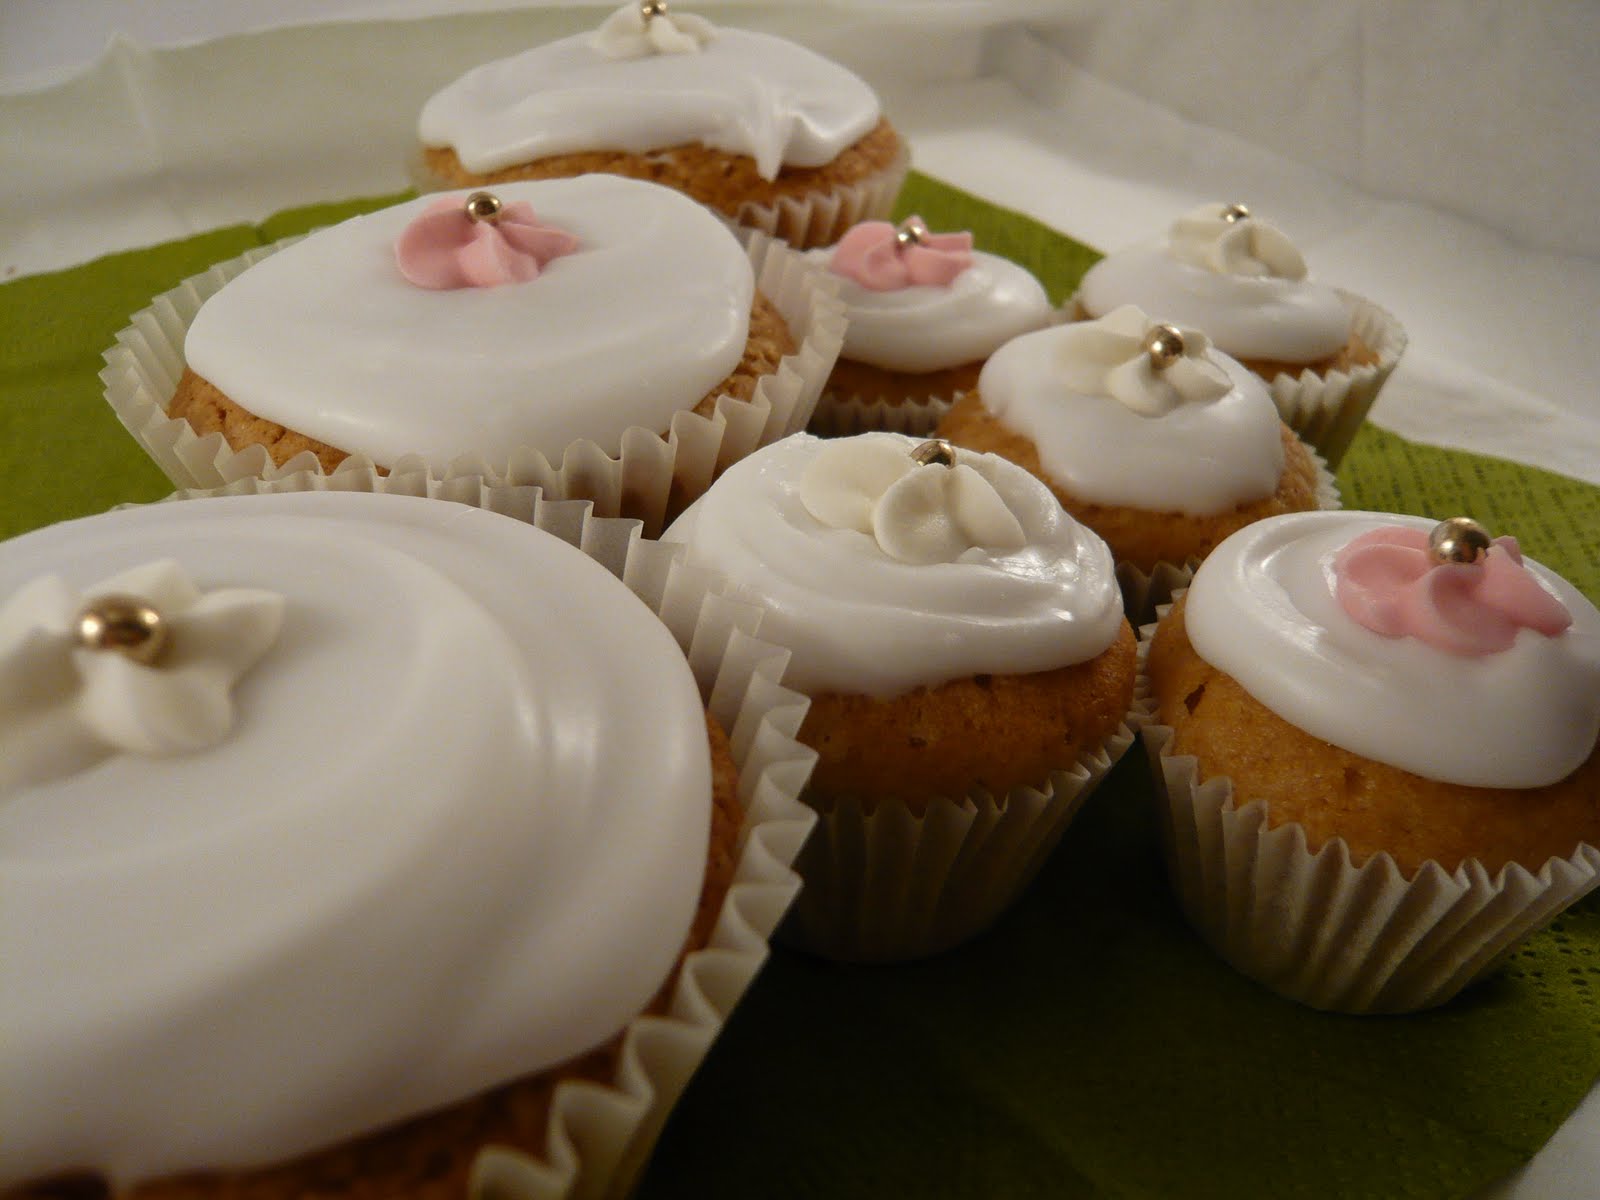
I mentioned a while ago that I had bought the Primrose Bakery Cupcake recipe book (at a bargain price) and I'm so glad that I did - I've made lots out of it (possibly more than any other book I own, certainly for the number of recipes in it) and there are lots more bookmarked to make. I don't know what made me decide on Earl Grey as the next flavour to make after the Lemon Cupcakes - I don't drink tea as I don't really like it! I had, however, bought a mixed packet of tea bags for the odd occasion when a desire to make teabread strikes, and in the mix there were earl grey teabags. This recipe seemed as good a time as any to use them up and see what tea in a cupcake is like.


The recipe is very similar to the vanilla cupcake recipe here, the introduction of the earl grey tea flavour is via steeping tea bags in warm milk and allowing to cool before adding to the cake mixture. I found with the lemon cupcakes that they were quite large and so decided to see if I could get more out of the mixture by making mini cupcakes too, which was a successful tactic - I had a dozen full sized and a dozen mini cupcakes and none looked as though I had skimped on the batter.

Good? Yep! I was really pleased with these. The tea flavour was really subtle and as I had expected this to be the case I went with an unflavoured glace icing so as not to interfere with the flavour. Good decision as the icing added the necessary sweetness without masking the subtle flavour. I think if you didn't know what the flavour was it would be hard to guess, but there was just a hint of perfumed aroma more than anything I suppose. Hard to describe but delicious to eat.


As an aside, I also made a coffee layer cake for a colleague's (significant) birthday recently from the book. It differed slightly from my previous coffee cakes because the recipe says that at the end, just before spooning the mixture into the prepared tins, you marble through the extremely strong coffee mixture, creating a beautiful marbled cake. When the cake is cooked and cool it is drenched in a coffee syrup, making it incredibly moist before being sandwiched and topped with a coffee buttercream icing. I decorated it with chocolate coffee beans (very popular at work!). I wish I'd managed to get a photo of it because it looked incredibly light and moist and very pretty with the marbling, but I was too embarrassed to photograph it at work... The birthday girl was delighted though, and many compliments were received from the assembled crowd at work when it and the other presents were given. Definitely a make again recipe and I might borrow the idea of the syrup for other cakes too.

LinkWithin

Related Posts Plugin for WordPress, Blogger...